English
 日本語
日本語 Deutsch
 عربى
عربى 中文
中文

Roof Solar Mounting Systems: How to Choose the Right Racking for Your Roof
 2026.09.24
 Industry News
A typical flat commercial roof can carry more than 100 kW of solar capacity, but that capacity only becomes a productive asset if the mounting system holds up for 25 years. The roof mounting system, not the module, is what ties the array to the building, and it is the most common source of preventable failures. Before choosing a supplier, engineering and procurement teams should understand the main system types, the tolerances involved, and the roof conditions that dictate the safest choice.
What a Roof Solar Mounting System Does
The mounting system transfers three types of load to the building structure: the downward weight of modules and rails, upward wind uplift, and lateral forces from wind or seismic activity. It also fixes the tilt angle, row spacing, and module spacing so the array produces what the design promises.
A well-designed roof solar mounting system must keep the membrane intact, allow metal components to expand and contract with temperature changes, and hold every clamp at the correct torque for the life of the plant. Roofs are not static surfaces. Concrete cures, timber rafters move with humidity, and single-ply membranes expand in the afternoon sun. The racking system has to absorb that movement without loosening connections or breaking seals.
Main Types of Roof Solar Mounting Systems
Roof solar mounting systems fall into two families: systems for flat or low-slope roofs and systems for pitched roofs. Within each family, the roof covering determines the attachment method. The table below summarizes the most common combinations.
| Roof type | Preferred mounting method | Typical project scale | Critical design factor |
|---|---|---|---|
| Flat concrete or bitumen roof | Non-penetrating (ballasted) | Commercial, industrial | Wind uplift and roof load capacity |
| Flat roof in high-wind zone | Penetrating (anchored) | Commercial | Waterproofing at each penetration |
| Standing seam metal roof | Clamp or hook, no penetration | Industrial, logistics | Profile compatibility |
| Clay or concrete tile roof | Tile hook with rail | Residential, pitched | Hook type and tile condition |
| TPO or single-ply membrane | Adhesive or membrane-compatible attachment | Low-slope commercial | Membrane warranty compatibility |
Three patterns stand out. First, non-penetrating systems dominate commercial flat roofs because they protect the waterproofing membrane. Second, metal and tile roofs require attachments made for the specific covering profile. Third, the roof warranty is often the deciding constraint, especially on TPO and other single-ply membranes.
Flat Roofs: Penetrating vs. Non-Penetrating Systems
On low-slope roofs, the first decision is whether to penetrate the membrane.
Non-penetrating systems use concrete ballast to hold the array in place. They install quickly, leave the waterproofing layer untouched, and can be moved or removed without roof repairs. The trade-off is weight: a ballasted system can add 20-60 kg per square meter, so the structure must be checked first. For most commercial roofs with adequate load capacity, a modular non-penetrating frame such as the Suneast flat roof mounting system is the fastest option to install and the easiest to maintain.
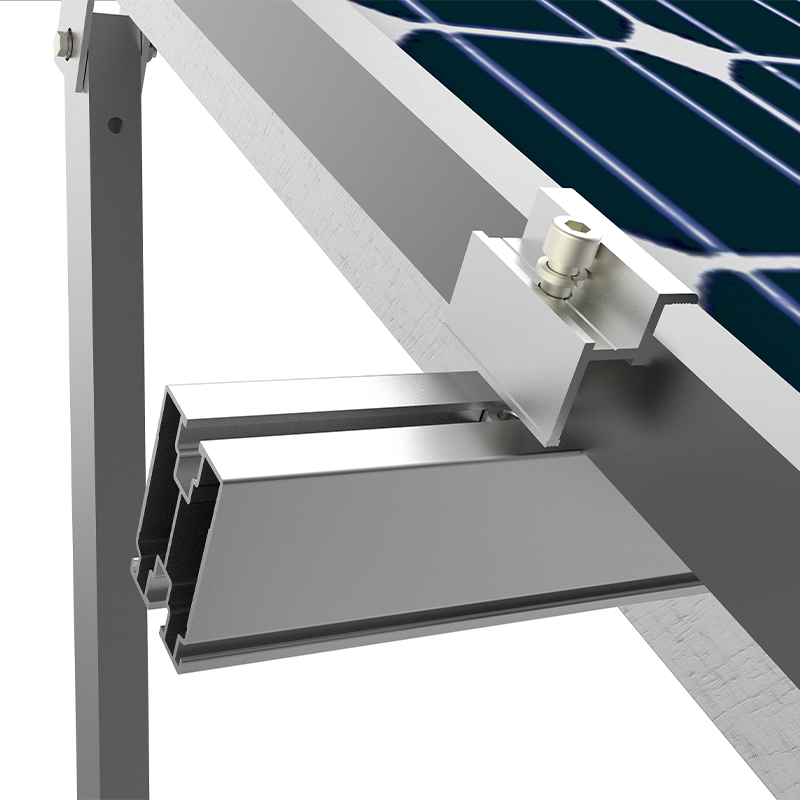 Suneast Non-Penetrating Flat Roof Mounting with BallastThis ballasted flat roof system uses concrete counterweights to avoid roof penetrations. It suits concrete roofs with adequate load capacity and allows 10-30 degree tilt, offering fast installation and easy maintenance for commercial buildings.View Product →
Penetrating systems bolt through the membrane into the concrete deck and seal every fastener. They provide strong resistance to wind uplift at a lower weight, which suits high-wind regions and roofs with limited structural margin. Every penetration is a potential leak point, so the flashing detail and installation workmanship matter more than the rail profile itself.
Material selection affects both approaches. Aluminum systems resist corrosion and stay lighter on the structure; galvanized carbon steel costs less but adds weight and requires care if the coating is scratched. Either material can perform well if the load calculation and corrosion protection are done correctly.
Pitched Roofs: Match the System to the Roof Covering
On pitched roofs, the racking follows the roofline, and the design work moves to the roof attachment.
Metal Roofs
Standing seam metal roofs accept clamps that grip the seam without drilling, preserving the roof panel warranty. Trapezoidal and corrugated profiles typically require screws into the purlins below; the screw length, sealing washer, and load distribution plate decide whether the roof stays dry under wind-driven rain. Verify the profile drawing before ordering, because a clamp made for one profile will not fit another. A profile-specific solution such as the Suneast metal roof mounting system is a safer starting point.
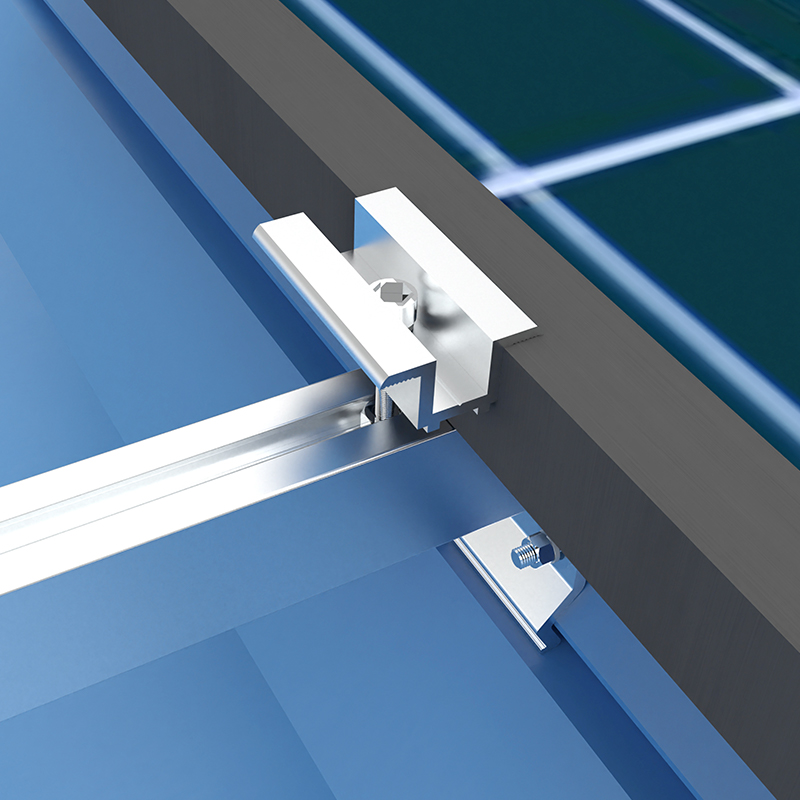 Suneast Clamp-Type Metal Roof PV Mounting SystemDesigned for trapezoidal and standing seam metal roofs, this clamp-based system avoids drilling to preserve the roof coating. Its modular aluminum or galvanized steel frame suits large-span industrial halls and warehouses, supporting quick and flexible panel layouts.View Product →
Tile Roofs
Clay and concrete tile roofs use hooks anchored to the rafters and slipped under the tiles. Common failures come from overtightened hooks cracking tiles, mismatched hook heights, and missing sealant where the hook penetrates the underlayment. Ask for the hook height range and confirm that the system can accommodate profiles such as flat, Roman, or barrel tiles in your market. The Suneast tile roof mounting system covers a wide range of hook heights and tile profiles.
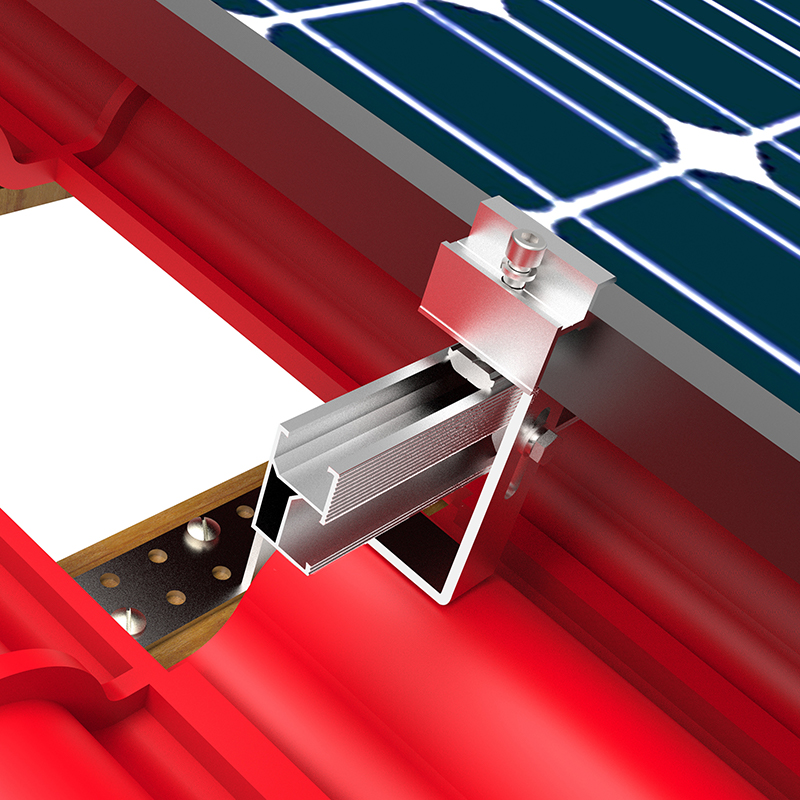 Suneast Adjustable Tile Roof PV Mounting SystemA lightweight aluminum or galvanized steel mounting solution for clay, cement, and slate tile roofs. It provides adjustable module tilt and accommodates various tile profiles, helping avoid leaks while ensuring safe, durable installation on residential and small commercial roofs.View Product →
TPO and Single-Ply Membranes
TPO and similar membranes require attachments that are welded or adhered with methods approved by the membrane manufacturer. Many membrane brands void their warranty if the racking supplier is not on their approved list, so confirm compatibility before you commit to a design.
Component Quality: Rails, Clamps, and Fasteners
The difference between a reliable system and a problem system is usually in four components:
- Rails: aluminum alloy extrusions such as 6005-T5 resist corrosion and keep weight down; hot-dip galvanized carbon steel offers strength at a lower material cost.
- Module clamps: mid-clamps and end-clamps must match the module frame height, typically 30-45 mm, and the module type, including glass-glass frames.
- Roof attachments: brackets, hooks, and flashing assemblies are the only parts in contact with the roof covering, so their material and sealing method are as critical as their load rating.
- Fasteners: stainless steel bolts with a defined torque range. Loose or over-torqued fasteners are a leading cause of clamp failure.
A practical test is to ask any supplier for the load calculation report, material certificates, and installation manual. If they cannot document the claims they make, do not put that system on a roof. For a step-by-step review of the design and installation process, see this complete guide to roof PV mounting system design and installation.
What to Confirm Before You Order
Inspect the five points below before releasing a purchase order:
- Site-specific load calculation: the supplier should calculate wind and snow loads for your location, not supply a generic drawing.
- Roof structure evaluation: confirm load capacity and condition, especially for ballasted systems.
- Warranty compatibility: mounting, membrane, and module warranties must not contradict each other.
- Installation support: a clear manual and available on-site guidance reduce workmanship errors.
- Delivery scope: check whether rails come pre-cut, clamps are included, and which parts need fabrication on site.
Most roof mounting failures do not start in the aluminum profile. They start with a compatibility mismatch, a missing load case, or poor installation work. These five checks cover the majority of problem projects before they begin.
A roof solar mounting system is a structural asset, not a commodity component. The correct system keeps the roof dry, the modules secure, and the energy yield predictable for the full plant life. Start with the roof type, verify the load case, and choose a supplier that provides drawings, documentation, and installation guidance. Advances in racking design also affect broader building performance; our article on PV racking and green building looks at that connection. Get the specification right at the start, and the mounting system will be the most reliable, least noticed part of the solar plant.
Message Us Now !

 +86-0523-80509588

 11th Floor, Wenchuang Building, 60 Fenghuang East Road, Hailing District, Taizhou City, JiangSu, China
Mounting Systems
Copyright © Taizhou Suneast New Energy Technology Co., Ltd.
All Rights Reserved.
 OEM/ODM Solar Panel Mounting Bracket Manufacturers