English
 日本語
日本語 Deutsch
 عربى
عربى 中文
中文

Solar Panel Roof Brackets: How to Choose, Size, and Install Them Right
 2026.10.15
 Industry News
A 10 kW array on a pitched tile roof is held down by roughly 50 to 70 small brackets, each fixed to a rafter, each carrying a share of every wind, snow, and thermal load the roof will see for the next 25 years. When a storm peels panels off a roof, the failure rarely starts at the module frame. It starts at the bracket, the fastener, or the seal around it.
The conclusion first: choose solar panel roof brackets by roof covering, size them by uplift pressure rather than module weight, and treat the waterproofing detail as part of the load path instead of a cosmetic finish. Get those three right and the array stays attached and watertight. Get them wrong and the cheapest line on the invoice becomes the most expensive repair.
Roof Covering Comes First, Then the Bracket
Brackets are not interchangeable across roof types. A hook shaped to slide under a clay tile will crush a standing seam; a seam clamp with set screws will not hold on a 20-year-old asphalt shingle. Before ordering anything, confirm the covering and where the structural members actually sit.
| Roof covering | Usual attachment | Fastening detail | Main risk |
|---|---|---|---|
| Concrete or clay tile | Hook or plate set under the tile | Lag screw into rafter with flashed seal | Broken tiles when the hook stands too high |
| Asphalt shingle | Flashing plate or L-foot | Lag screw through a sealed plate | Sealant-only waterproofing that dries out |
| Standing seam metal | Non-penetrating seam clamp | Set screws on the seam, no penetration | Seam deformation from over-tightening |
| TPO / PVC membrane | Membrane plate or rail | Fastener to deck, patch heat-welded | Cold patch that never bonds properly |
| Corrugated metal sheet | Standoff bracket to purlin | Self-drilling screws with EPDM washers | Fixing to thin sheet instead of the purlin |
Standoff height and slope
On pitched roofs the bracket lifts the rail clear of the covering so water and snow do not sit against it. A standoff of 100 to 150 mm above the tile surface is typical. Too low and the rail rests on the tiles; too high and the lever arm on the rafter connection grows quickly. Whatever the height, the load must travel into the rafter or purlin, never into the battens alone.
Hooks versus plate brackets
Tile hooks follow the tile profile and usually land on the rafter with one or two lag screws. Plate brackets suit flatter coverings and leave more freedom in positioning. Both need an EPDM pad or flexible flashing that tolerates thermal movement; a bead of silicone across the top edge is not a waterproofing system.
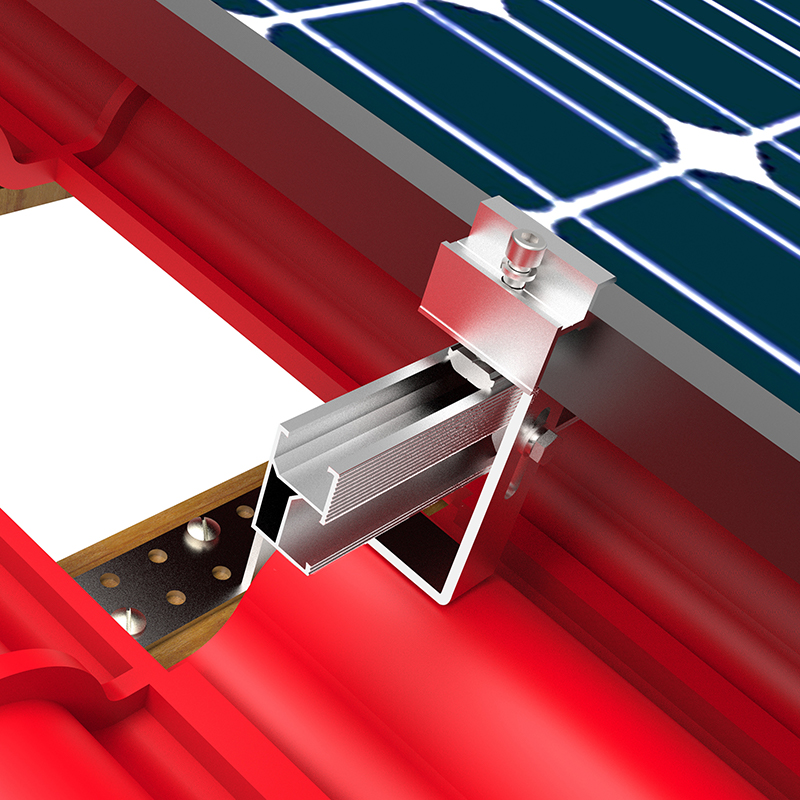 Tile Roof PV Mounting for Pitched Ceramic and Slate RoofsPitched-roof PV mounting with adjustable base for ceramic, cement, or slate tile roofs; corrosion-resistant bracket suits household and small commercial arrays.View Product →
Flat Roofs: Non-Penetrating or Penetrating
On a low-slope roof under about 5 degrees, brackets either sit on the surface and hold the array down with weight, or they pass through the membrane and anchor into the deck. The choice drives structural load, warranty exposure, and labour time, and it is usually decided by the roof structure rather than by preference.
| Factor | Non-penetrating | Penetrating |
|---|---|---|
| Roof penetration | None | One per bracket or base |
| Ballast per point | 60 to 100 kg typical | Minimal |
| Added dead load | Significant, must be checked | Low |
| Waterproofing risk | Low, no holes | High, every hole must be sealed |
| Best fit | Capped membrane roofs with spare capacity | Concrete or purlin decks with limited capacity |
Ballast sizing is the step people skip. Uplift in a corner zone can reach 1.2 to 1.5 kPa in a 110 mph wind region, which is why 60 to 100 kg per base point is common once friction and safety factors are counted. The roof must also accept that extra dead load, typically checked against an allowance of 1.5 to 2.0 kN/m². Penetrating brackets use far less weight, but each hole is a future leak if the flashing or weld is rushed.
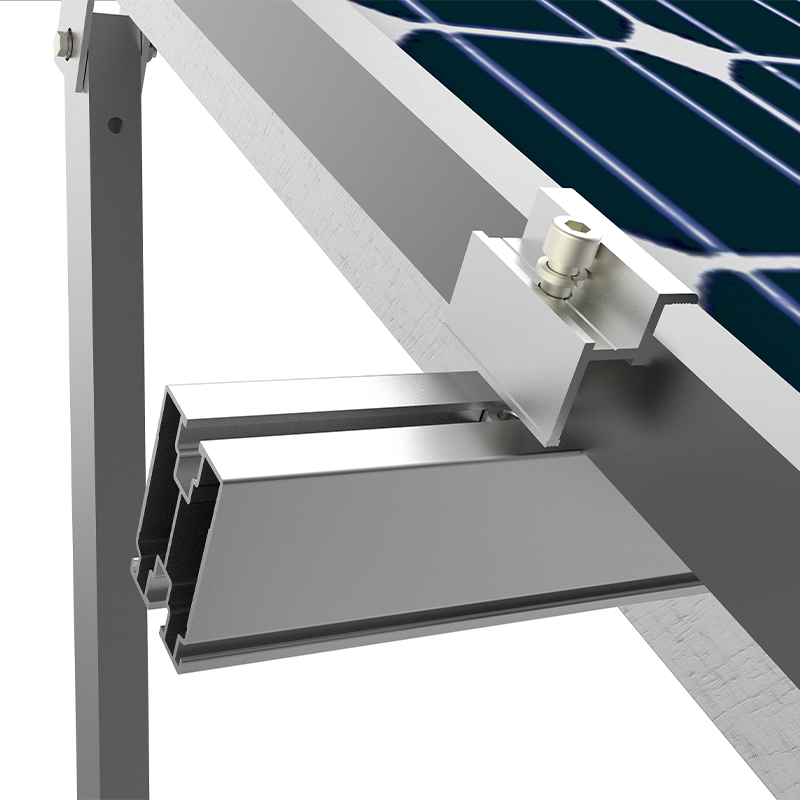 Non-Penetrating Flat Roof PV Mounting with Concrete BallastConcrete-ballasted flat roof mounting avoids roof penetrations; galvanized or aluminum body supports 10°–30° tilt for commercial and public buildings.View Product →
What to Write Into the Specification
Five items separate a bracket package that performs from one that merely ships. Put them in writing, because a photograph cannot tell you the steel thickness or the zinc weight.
- Uplift capacity per attachment point, expressed in kN. Ask for a test report or a calculation to EN 1991-1-4, ASCE 7-16, or AS/NZS 1170.2, not a phrase such as high wind resistance.
- Material and coating. Rails and hooks are commonly AL6005-T5 anodised aluminium at 2.0 to 3.0 mm wall thickness. Heavier steel parts such as Q235B or S350GD should carry 65 to 80 micrometres of hot-dip galvanising. Within roughly 1 km of surf, specify 316/A4 stainless fasteners; 304 pits within a few years in chloride air.
- Fastener and embedment. Lag screws of 8 to 10 mm diameter with 60 to 75 mm embedment into solid timber, or M10 to M12 bolts for steel purlins, with stainless washers under every EPDM pad.
- Clamp torque and rail span. Mid-clamps and end-clamps are usually torqued to 15 to 20 N·m depending on the module frame. Rail spans commonly run 1.2 to 1.8 m. Over-torquing crushes the frame; under-torquing lets modules creep downhill.
- Thermal movement. Aluminium expands about 1 mm per metre over a 40 °C swing. Rail runs beyond 10 to 12 m need slotted connections or expansion joints, otherwise the rail bows and loads the brackets sideways.
Sizing Brackets for Wind Uplift, Not Panel Weight
A 450 W module weighs about 25 kg. The same module on a corner zone in a 110 mph wind can be pulled upward with five to eight times that force, and the force arrives at the bracket, not at the glass. That is why bracket counts are set from pressure zones rather than from a simple module-per-rail calculation.
Illustrative edge-zone uplift pressure at 10 m height, open terrain
90 mph / 40 m/s0.85 kPa
100 mph / 45 m/s1.05 kPa
110 mph / 49 m/s1.27 kPa
120 mph / 54 m/s1.51 kPa
Field zones typically see 50 to 60 percent of the edge pressure, and corners see the highest figure on the roof. The practical result is a bracket density that is not uniform.
Illustrative bracket density per 10 m² of array by roof zone
Field zone2.4 brackets
Edge zone3.6 brackets
Corner zone5.0 brackets
Snow adds a downward load of roughly 0.8 to 1.5 kN/m² in cold regions, so brackets and rails must handle both directions. The load path does not stop at the bracket: rafters, purlins, and trusses need checking against the same numbers before the first hole is drilled.
Installation Sequence and the Errors That Repeat
The sequence is short, and most call-backs trace back to steps one and three.
- Mark the layout. Set row spacing from the actual module dimensions and keep rails parallel to the ridge or the roof edge.
- Find the structure. Confirm rafter spacing before drilling: 400 or 600 mm is common in Europe and Asia, 16 or 24 inches in North America. Mark every rafter line.
- Drill, seal, and fix. Pilot drill, fit the flashing or EPDM pad, then drive the fastener to the specified depth without over-driving into the timber.
- Fit the standoff and rail. Check level and clearance above the covering, and leave expansion gaps on long runs.
- Clamp the modules. Use a calibrated torque wrench at the manufacturer's figure, and record the value per row.
The repeat offenders are brackets centred between rafters, missing EPDM pads, sealant used where a mechanical flashing belongs, rails bolted rigidly across 15 m with no expansion provision, and clamps tightened by feel. A detailed walkthrough of the full sequence is available in this guide to designing and installing a roof PV mounting system.
Cost, Warranty, and Procurement Risk
Brackets and rails usually account for 8 to 15 percent of the material cost of a residential roof system, which is exactly why they attract price pressure. Two brackets that look identical in a photo can differ in steel thickness of 1.5 versus 2.0 mm, in zinc coating of 30 to 40 versus 65 to 80 micrometres, and in whether a load report exists at all.
- Roof warranty: most shingle and membrane warranties exclude poorly sealed penetrations. Keep the flashing detail and a photograph of each bracket before the modules go on.
- Mixed metals: stainless fasteners in aluminium rails are fine with a separating washer, but galvanised steel touching bare aluminium in damp coastal air will corrode.
- Spares and lead time: order 3 to 5 percent extra brackets. A shortage of a discontinued hook halfway through a project can force a redesign of the whole roof.
- Documentation: ISO 9001 certification, load test reports, material certificates, and a galvanising thickness measurement on the delivered batch.
How to Vet a Bracket Supplier
Ask for the load report first, the material certificate second, and a physical sample third. A supplier who can send a bracket, a coating measurement, and a reference project in one parcel has answered most of the technical questions before the meeting. Suneast New Energy, a mounting manufacturer established in 2009 in Taizhou, China, builds roof mounting systems for flat and pitched roofs, including metal roof, tile roof, and TPO variants, alongside BIPV and carport structures for projects that mix roof types. For an EPC or distributor, the practical test is coverage: one supplier that handles both pitched and flat roofs keeps the array on a single fastener system and a single spare-parts box.
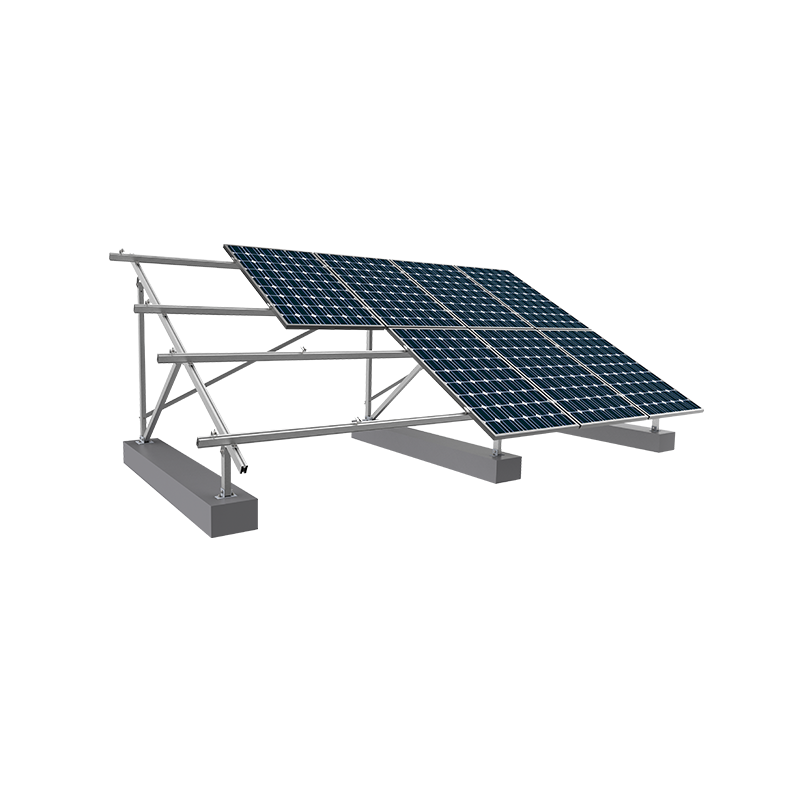 Roof PV Mounting Systems for Flat and Pitched RoofsOEM/ODM roof mounting category covering non-penetrating, penetrating, tile, metal, and TPO systems for mixed-roof projects seeking one fastener system.View Product →
Three checks decide whether a roof bracket installation holds up: the bracket matches the covering, the attachment count matches the wind zone, and every penetration has a mechanical seal rather than a smear of sealant. Settle those three before comparing unit prices, and the least expensive component in the system stops being the weakest link.
Message Us Now !

 +86-0523-80509588

 11th Floor, Wenchuang Building, 60 Fenghuang East Road, Hailing District, Taizhou City, JiangSu, China
Mounting Systems
Copyright © Taizhou Suneast New Energy Technology Co., Ltd.
All Rights Reserved.
 OEM/ODM Solar Panel Mounting Bracket Manufacturers